
How to ACTUALLY Start Selling Cups
As an Amazon Associate, I earn from qualifying purchases.
If you want to start a small business, then selling cute glass cups might be for you!
You might have a few common questions like how do you ship fragile glass without it breaking? What size boxes do you need?
And where do you even get bulk glass cans at a good price?
After lots of trial and error (and a few broken cups along the way), I figured it out.
So if you’re ready to start selling glass cans but don’t know where to begin, this guide will walk you through everything you need—from the exact shipping supplies to where to get your labels for free.
This list is the bare minimum with everything you absolutely need and nothing you don’t, feel free to add anything extra if you want to!
What You Need to Start SELLING Glass Cups
⋆ Step 1: Make Your Cups! ⋆
Glass Cans 12 Pack
I recommend buying in bulk to save money. These are great to start, however you can also get better quality Libbey brand cups (personal fave).

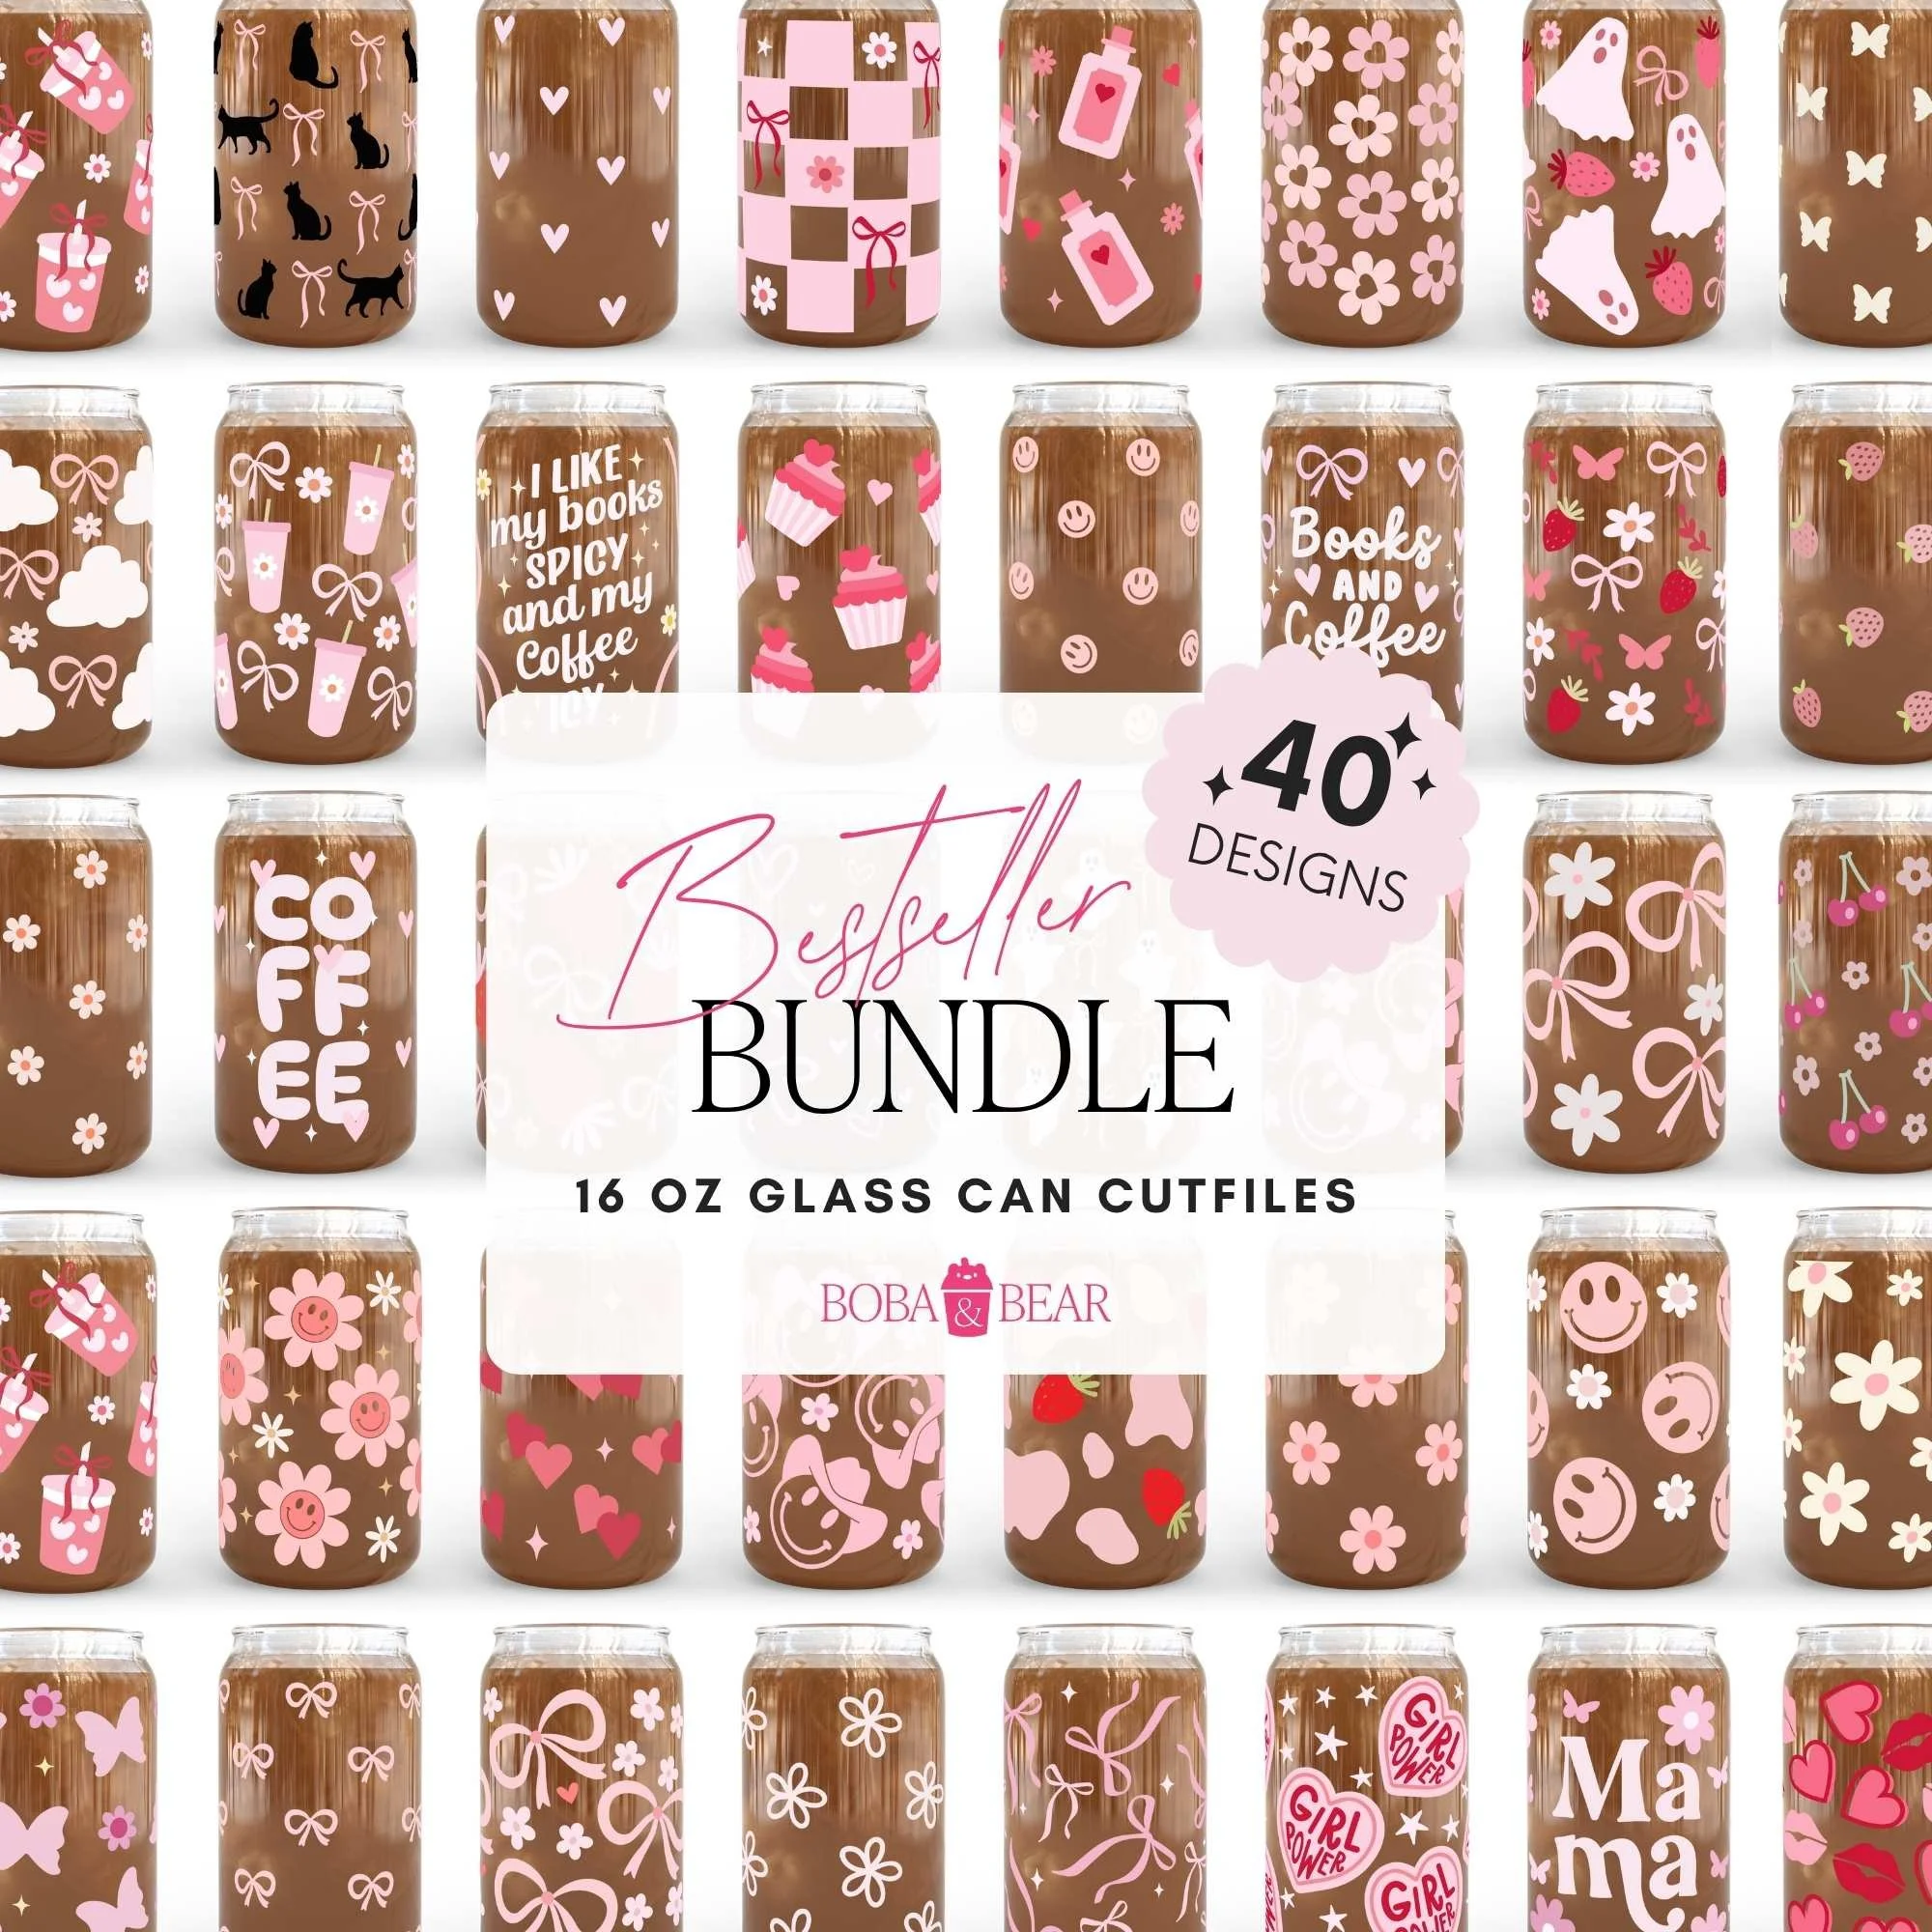
Top 40 Bestselling Cup Designs
Get the top designs people love, this bundle has 40 designs with both SVG + PNG formats.
Use for cutting machine or UV DTF printing.
Other items you may want to consider:
✨Don’t have a Cricut? Get ready made decals called UV DTF transfers specifically sized for 16oz glass cans. Alternatively, you can get the bestseller bundle and have custom UV DTF transfers made.
✨Get a printable cup care template to insert, so your customers know to handwash their handmade item.
✨Get lifetime access to our Google Drive, packed with all current and future cup wrap designs—yours forever with just a one-time payment. Plus, enjoy unlimited commercial use on physical products!
Ready to Go Beyond Amazon?
Get my personal list of trusted wholesale vendors for cups, wraps, supplies, and more.

⋆ Step 2: Safe Packaging ⋆
Shipping Boxes
The right size shipping boxes – The wrong size box = disaster. These fit most 16oz cups.

Confetti Paper Filler
Use this to fill any gaps in the box and provide some cusion.


⋆ Step 3: Shipping ⋆

Free Shipping Labels
.You will have to make an account before you can order.

That’s everything you absolutely NEED to sell cups. You can get fancy with custom boxes, tape and stickers but this is a great place to start.
Next we will go over the process from creating the cups to packing, then shipping.
Start Selling Like a Pro (Even if You’re Just Starting Out)
From “Still Working on It” to “Click the Link in My Bio”

How to Add DESIGNS to Glass Cups
One of the best parts about selling glass cups is getting creative with designs!
Whether you’re using a Cricut or UV DTF transfers, here’s how to do it:
⋆ Option 1: Using a Cricut + SVG Files ⋆
If you have a Cricut, Silhouette, or other cutting machine, you can make your own glass wrap decals with permanent vinyl. Here’s how:
1. Choose a high-quality SVG file

Look for clean, well-organized designs with smooth cut lines to ensure easy cutting and weeding. Shop 300+ glass can designs here
2. Upload the SVG to Cricut Design Space

Once you've downloaded your design, simply upload the SVG file to Cricut Design Space, Silhouette Studio, or whichever program your cutting machine uses.
From there, you can resize, adjust, and send it to cut
3. Cut the design on permanent vinyl

After uploading your design, load your favorite permanent vinyl onto the cutting mat—I personally love using this pack from TeckWrap for its quality and colors.
Once cut, weed the design carefully, apply transfer tape, and it's ready to be placed onto your glass cup!
⋆ Option 2: Using UV DTF Wraps ⋆
UV DTF transfers are pre-printed, waterproof, and super easy to apply—no weeding or sealing required!
1. Peel off the backing.
2. Stick the design onto the glass cup.
3. Press down firmly, smoothing out any air bubbles.
4. Peel off the top layer, and you're done!
💡 Why use UV DTF? It’s faster than vinyl, more durable, and gives a seamless, professional look.
How to SHIP Glass Cups
(Without Breaking Them)
Shipping fragile items can be nerve-wracking, but if you follow these steps, you’ll drastically reduce the risk of broken cups and unhappy customers.
⋆ Step 1: Wrap Your Glass Cup Securely ⋆
Before placing your cup in the box, you want to make sure it’s fully protected. Here’s how:
Use honeycomb wrap – This is better than bubble wrap because it’s more eco-friendly and molds to the glass better.
Wrap it snugly – Your glass shouldn’t be able to shift around. If it moves inside the wrap, it’s not secure enough.
Seal with tape – Don’t rely on the wrap to stay in place—secure it with a piece of tape.
⋆ Step 2: Choose the Right Box Size ⋆
Too big, and your cup will shift around. Too small, and it might not have enough protection. I recommend using 7 x 5 x 4, which perfectly fits one wrapped glass cup. Get the correct size here.
For multiple cups, go up a size and add extra padding between them.
⋆ Step 3: Add Some Cushion ⋆
Start by wrapping your glass cup in honeycomb wrap or bubble wrap, ensuring it’s fully covered to prevent any movement.
Place the wrapped cup inside a sturdy shipping box with enough space for cushioning materials like packing paper or crinkle fill.
If you’re using a glass can insert with care instructions, don’t forget to tuck it inside the box!
⋆ Step 4: Seal, Label, and Ship Your Package with USPS ⋆
Once your glass cup is securely packed, seal the box with strong packing tape, reinforcing all edges to prevent damage during transit.
If you're using a label maker, print your shipping label and attach it to the top of the box.
You can print labels at home through USPS Click-N-Ship or purchase them at the post office.
For the most cost-effective shipping option, USPS Ground Advantage is a great choice for small, lightweight packages. If you need faster delivery, Priority Mail includes tracking and insurance, which can give both you and your customer peace of mind.
To ship, you can either:
Drop off at the post office – Simply bring your package to the counter, or if it's prepaid, place it in the drop-off bin.
Schedule a free pickup – USPS offers free package pickup right from your doorstep when you schedule it online.
Regardless of the option you choose, make sure to provide your customer with a tracking number so they can monitor their order's progress!
What Else to know
Selling glass cups with cute designs is one of my favorite ways to turn creativity into a profitable (and fun!) business.
There’s something so satisfying about making a product that people actually use and love—whether it’s a cute iced coffee cup for a small business owner or a personalized gift for a friend.
What I love most about selling glass cups is how versatile they are. You can start small with just a few supplies, customize them with your Cricut or UV DTF transfers, and create something truly unique.
Plus, with the right packaging and shipping setup, you can confidently send them to customers without worrying about breakage.
If you've been thinking about selling handmade products, glass cups are a great option—they’re trendy, practical, and people can’t get enough of them. And if you're just making them for fun, they also make amazing gifts (because who doesn’t love a cute cup?).
I hope this guide helps you get started!
If you have any questions, feel free to reach out—I love helping other makers turn their creativity into something profitable. Happy crafting! 😊
You May Also Like…
Look legit with packaging inserts!
